In “The Complete Guide to Vermicomposting: Harnessing Worm Power for Garden Glory,” you will uncover the secrets to transforming your garden into a thriving oasis using the power of worms. This comprehensive guide will walk you through every step of the vermicomposting process, from setting up your worm bin to harvesting nutrient-rich worm castings. Discover the incredible benefits of vermicomposting and how you can harness worm power to create a bountiful garden that will leave your neighbors green with envy. Get ready to unlock the secrets of garden glory with the help of these wiggly garden superheroes!

What is Vermicomposting?
Definition of Vermicomposting
Vermicomposting is the process of using worms to break down organic materials, such as kitchen scraps and garden waste, into nutrient-rich compost. It is a form of composting that harnesses the power of worms to speed up the decomposition process and create a valuable fertilizer for plants.
Why Choose Vermicomposting
There are several reasons why you should choose vermicomposting as your method of composting. Firstly, it is an environmentally friendly and sustainable way to manage organic waste. By diverting kitchen scraps and other organic materials from landfills, you are reducing methane gas emissions and helping to combat climate change.
Secondly, vermiculture can be done on a small scale, making it suitable for those living in apartments or with limited garden space. All you need is a small bin or container and a handful of worms to get started.
Lastly, the resulting vermicompost is an excellent soil amendment that provides essential nutrients to plants, improves soil structure, and enhances overall plant health. By utilizing vermiculture, you are cultivating a nutrient-rich garden and reducing the need for chemical fertilizers.
Benefits of Vermicomposting
Vermicomposting offers a multitude of benefits for both the environment and your garden. Firstly, it helps to reduce waste by transforming organic materials into valuable compost. This not only reduces the strain on landfills but also allows you to recycle and repurpose your kitchen scraps and yard waste.
Secondly, vermicompost is a nutrient-rich fertilizer that contains beneficial microorganisms, enzymes, and plant growth hormones. These elements help plants grow stronger and healthier, increasing their resistance to pests and diseases.
Additionally, vermicomposted soil has improved water-holding capacity and drainage, ensuring that plants receive a steady supply of water and preventing waterlogged roots. This is especially beneficial in regions with erratic rainfall or with sandy or clayey soils.
Lastly, vermiculture promotes biodiversity in the soil. The worms and microorganisms present in the vermicompost help to improve soil structure, increase soil aeration, and enhance nutrient cycling. This creates a healthy and thriving ecosystem in your garden, resulting in more productive plants.
Setting up a Vermicomposting System
Selecting the Right Worm Species
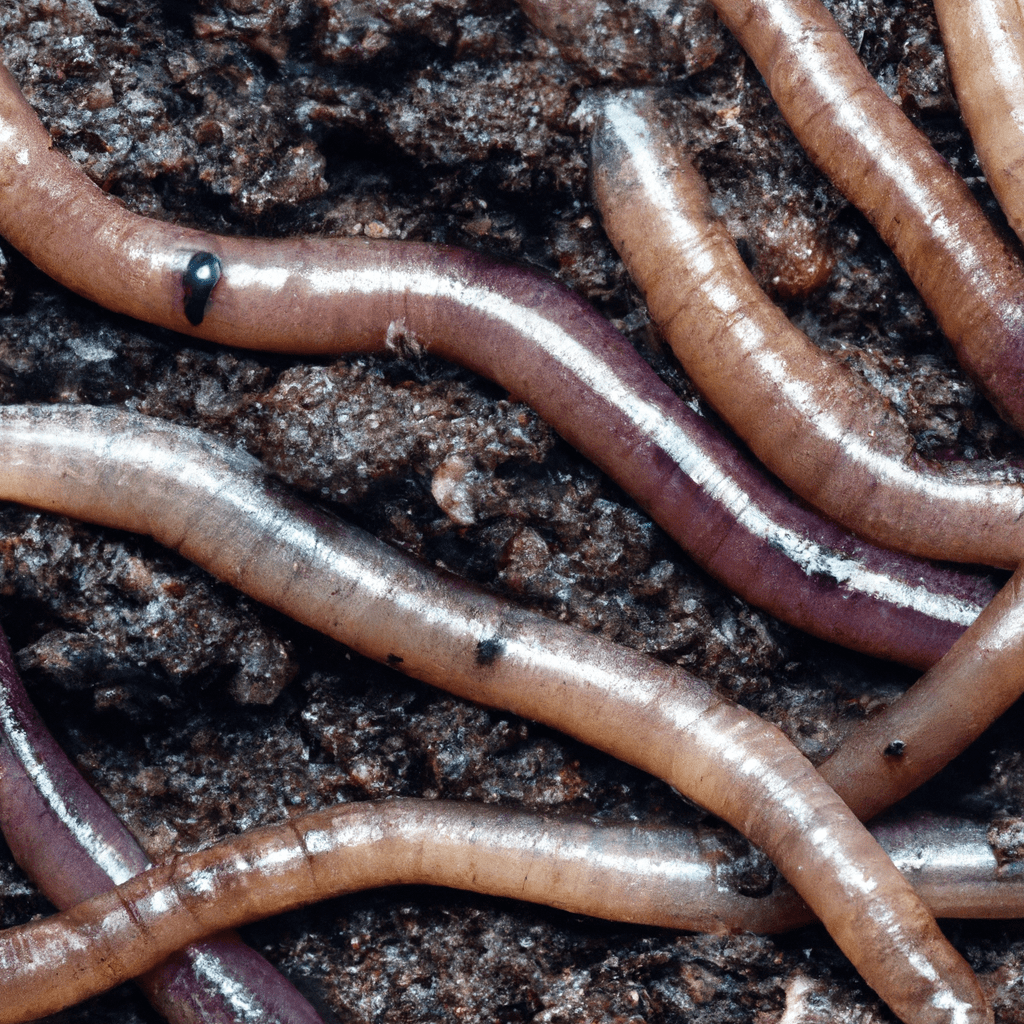
When setting up a vermicomposting system, it is crucial to choose the right worm species. The most commonly used worms for vermicomposting are Red Wigglers (Eisenia fetida or Eisenia andrei). These worms are voracious eaters, reproduce quickly, and thrive in composting conditions.
Other species like European Nightcrawlers (Eisenia hortensis) and African Nightcrawlers (Eudrilus eugeniae) can also be used, but they have different requirements and may not be as efficient at breaking down organic matter.
Choosing the Right Bin or Container
Next, you’ll need to select the right bin or container for your vermicomposting system. There are various options available, ranging from commercially available worm bins to DIY setups using repurposed containers.
Ideally, the bin should be shallow with a tight-fitting lid to prevent worms from escaping and pests from entering. It should also have drainage holes at the bottom to allow excess moisture to drain out.
Preparing the Bedding Material
Before adding the worms to the bin, it is essential to prepare a suitable bedding material. Bedding provides a comfortable environment for worms and helps to retain moisture in the bin.
Common bedding materials include shredded newspaper, cardboard, coconut coir, and aged leaf litter. Soak the bedding material in water and fluff it up to create a moist and fluffy bedding for the worms.
Adding the Worms to the Bin
Once the bedding material is prepared, you can add the worms to the bin. Start with a small population of worms and gradually increase their numbers as the system becomes established.
It is important to distribute the worms evenly throughout the bedding to ensure optimal decomposition and prevent overcrowding in one area. Gently place the worms on top of the bedding and cover them with a layer of moist bedding to protect them from light.
Maintaining Your Vermicomposting System
Managing Moisture Levels
One of the key factors in maintaining a successful vermicomposting system is managing moisture levels. The bedding material should have the consistency of a wrung-out sponge, moist but not soaked.
Regularly monitor the moisture content in the bin and adjust as necessary. If the bin becomes too dry, mist it with water to increase moisture. On the other hand, if it becomes too wet, add dry bedding materials to absorb excess moisture.
Providing Proper Ventilation
Worms need oxygen to survive, so it is crucial to provide proper ventilation in your vermicomposting system. Ensure that the bin has adequate airflow by drilling small holes in the lid and sides of the container.
Good ventilation helps to prevent anaerobic conditions and the buildup of foul odors. It also promotes the growth of beneficial microorganisms that aid in the decomposition process.
Controlling Temperature
Worms prefer temperatures between 55°F and 77°F (13°C to 25°C). It is important to keep your vermicomposting system within this temperature range to ensure the worms’ optimal activity and reproduction.
If the temperature drops below 55°F (13°C), consider insulating the bin or moving it to a warmer location. Similarly, if the temperature exceeds 77°F (25°C), provide shade or relocate the bin to a cooler spot.
Feeding the Worms
Feeding the worms properly is essential for their health and the success of your vermicomposting system. Worms are primarily vegetarian and thrive on a diet of kitchen scraps, coffee grounds, tea leaves, and plant-based materials.
Avoid feeding them oily or greasy foods, dairy products, meat, and citrus fruits, as these can attract pests and create odors. Chop food scraps into small pieces to speed up the decomposition process and make it easier for the worms to consume.
Avoiding Harmful Substances
To maintain a healthy vermicomposting system, it is crucial to avoid adding harmful substances. Do not add chemicals, pesticides, weed killers, or any materials treated with synthetic preservatives.
Additionally, avoid using colored or glossy paper, as the inks and dyes may contain toxic chemicals. Stick to natural and organic materials to create a safe and nutritious environment for your worms.
Harvesting and Using Vermicompost
Harvesting the Vermicompost
After several months, the vermicompost in your bin will be ready to harvest. Vermicompost is typically dark, crumbly, and rich in nutrients.
To harvest the vermicompost, stop adding new food materials to the bin for a few weeks. Then, gently push all the vermicompost to one side of the bin, leaving the other side empty. Add fresh bedding material and food scraps to the empty side of the bin.
The worms will migrate to the side with fresh bedding and food, making it easier to collect the vermicompost. Scoop out the finished compost and set it aside for use in your garden.
Using Vermicompost in the Garden
Vermicompost is an excellent soil amendment that provides a wide range of nutrients to plants. It improves soil structure, enhances water retention, and promotes the growth of beneficial soil microorganisms.
To use vermicompost in your garden, simply spread a layer of it around the base of plants, mixing it into the top few inches of soil. You can also make vermicompost tea by steeping a handful of vermicompost in a bucket of water for a few days, and then using the nutrient-rich liquid to water your plants.
Storing Excess Vermicompost
If you have excess vermicompost that you don’t immediately need, you can store it for future use. Place the vermicompost in a container with a tight-fitting lid and store it in a cool, dry place.
Avoid exposing the vermicompost to direct sunlight or extreme temperatures, as this can degrade its quality. With proper storage, vermicompost can be kept for several months without losing its beneficial properties.

Troubleshooting Common Issues
Identifying and Solving Odor Problems
Odor problems in a vermicomposting system are usually a sign of improper conditions or overfeeding. If you notice a foul odor, check the moisture levels in the bin. It may be too wet, causing anaerobic conditions and the production of hydrogen sulfide.
To solve odor problems, ensure proper moisture levels and increase airflow by providing better ventilation. Avoid overfeeding the worms, as excess food can rot and cause odors.
Dealing with Pests and Predators
Pests and predators can pose a threat to your vermicomposting system and the health of the worms. Common pests include fruit flies, ants, and mites. To prevent or control these pests, avoid adding foods that attract them and monitor your bin regularly.
To deter pests, consider placing a barrier of diatomaceous earth or coffee grounds around the base of the bin. These substances are abrasive to pests and can prevent them from accessing the bin.
Preventing Overpopulation
Worm populations can grow quickly, leading to overcrowding and competition for food and space. To prevent overpopulation, regularly assess the population size in your bin. If it becomes too dense, consider dividing the worms into multiple bins or giving some away to other vermicomposters.
Handling pH Imbalances
The pH level of your vermicomposting system should ideally be slightly acidic, between 6.5 and 7.5. If you notice a pH imbalance, you can correct it by adding small amounts of agricultural lime to increase alkalinity or sulfur to increase acidity.
Regularly monitoring the pH level and adjusting it as necessary will ensure that your vermicomposting system remains balanced and conducive to worm activity.
Tips and Tricks for Successful Vermicomposting
Maintaining the Right Worm-to-Waste Ratio
To maintain a healthy vermicomposting system, it is important to maintain the right worm-to-waste ratio. As a general guideline, aim for a ratio of about 2 parts bedding to 1 part food waste. This ensures that the worms have enough food to consume without being overwhelmed.
Balancing Carbon and Nitrogen
Successful vermicomposting requires a balance of carbon-rich (browns) and nitrogen-rich (greens) materials. Carbon-rich materials include shredded paper, cardboard, and dry leaves, while nitrogen-rich materials include kitchen scraps and fresh plant matter.
Aim for a balance of approximately 75% carbon-rich materials and 25% nitrogen-rich materials. This balance provides the worms with the necessary nutrients and helps to prevent odors and pests.
Chopping Food Scraps into Smaller Pieces
Chopping food scraps into smaller pieces before adding them to the vermicomposting system has several benefits. Firstly, it increases the surface area, allowing the worms to break down the scraps more efficiently. It also speeds up the decomposition process and reduces the likelihood of attracting pests.
Avoiding Overfeeding
One common mistake in vermicomposting is overfeeding the worms. While worms can eat their body weight in food each day, it is important not to overwhelm them with excessive amounts of food. Overfeeding can lead to rotting food, foul odors, and the proliferation of pests.
Monitor the rate at which the worms consume the food, and adjust the feeding accordingly. If there is still uneaten food in the bin, wait until it is mostly consumed before adding more.
Monitoring Compost pH Levels
Regularly monitoring the pH levels of your vermicompost is important for maintaining healthy decomposition and nutrient availability. Consider using a pH test kit to determine the acidity or alkalinity of your compost.
Ideally, the pH level should be slightly acidic, between 6.5 and 7.5. If it falls outside this range, adjust it using small amounts of agricultural lime or sulfur, as mentioned earlier.

Worm Composting Dos and Don’ts
Dos of Worm Composting
- Do provide proper bedding materials for the worms, such as shredded paper, cardboard, or coconut coir.
- Do maintain proper moisture levels in the vermicomposting system.
- Do provide adequate ventilation in the bin to ensure the worms have enough oxygen.
- Do feed the worms a balanced diet of kitchen scraps and plant-based materials.
- Do regularly monitor the vermicomposting system for issues, such as pests or pH imbalances.
Don’ts of Worm Composting
- Don’t add meat, dairy products, oily/greasy foods, citrus fruits, or any substances treated with synthetic preservatives to the vermicomposting system.
- Don’t overfeed the worms, as it can lead to rotting food and the proliferation of pests.
- Don’t allow the vermicomposting system to become too wet or too dry.
- Don’t expose the worms to extreme temperatures or direct sunlight.
- Don’t add harmful substances, such as chemicals or pesticides, to the vermicomposting system.
Frequently Asked Questions about Vermicomposting
Can I Vermicompost in an Apartment?
Yes, vermicomposting can be done in an apartment. It is an ideal composting method for those with limited space. You can use a small indoor worm bin or a specialized vermicomposting system designed for urban environments.
Can I Use Red Wigglers for Vermicomposting?
Yes, Red Wigglers (Eisenia fetida or Eisenia andrei) are the most commonly used worms for vermicomposting. They are efficient eaters, reproduce quickly, and adapt well to composting conditions. However, other worm species like European Nightcrawlers (Eisenia hortensis) and African Nightcrawlers (Eudrilus eugeniae) can also be used.
How Long Does it Take to Produce Vermicompost?
The time it takes to produce vermicompost depends on various factors, including the size of the vermicomposting system, the number of worms, and the types of materials being composted. On average, it takes about two to six months for vermicompost to be ready for harvest.
Can I Vermicompost Year-Round?
Yes, vermicomposting can be done year-round. As long as you maintain the proper conditions and temperature range for the worms, they can continue to work and decompose organic materials throughout the year. However, you may need to make adjustments in extreme weather conditions to ensure the worms’ optimal activity.

Vermiculture vs. Vermicomposting: Understanding the Differences
What is Vermiculture?
Vermiculture refers to the cultivation and use of worms for various purposes, including composting. It involves the rearing and management of worms for their beneficial properties in improving soil health, waste management, and sustainable agriculture.
Vermiculture encompasses practices such as worm farming, raising worms for bait, and using worms to recycle organic waste. It focuses on the entire life cycle of worms and their contribution to ecological balance.
What is the Difference Between Vermiculture and Vermicomposting?
While both vermicomposting and vermiculture involve the use of worms, they differ in their primary objectives. Vermicomposting specifically focuses on using worms to decompose organic materials and produce nutrient-rich compost.
On the other hand, vermiculture has a broader scope and includes various uses of worms beyond composting. It encompasses the rearing and utilization of worms for different purposes, such as soil improvement, waste management, and agricultural practices.
Benefits of Vermiculture
Vermiculture offers several benefits in addition to vermicomposting. Firstly, worms enhance soil fertility by increasing nutrient availability, improving soil structure, and promoting microbial activity. This results in healthier plants with higher yields.
Secondly, vermiculture helps to reduce organic waste by transforming it into valuable vermicompost. This reduces the dependence on landfills and contributes to a more sustainable waste management system.
Furthermore, vermicomposting introduces beneficial microorganisms and enzymes into the soil, stimulating the breakdown of complex organic matter and accelerating nutrient cycling. This enhances soil health, promotes biodiversity, and reduces the need for chemical fertilizers.
In conclusion, vermicomposting is a sustainable, efficient, and environmentally friendly way to manage organic waste and produce nutrient-rich compost. By following the steps outlined in this comprehensive guide, you can successfully set up and maintain a vermicomposting system, and enjoy the numerous benefits it offers to your garden and the environment. Happy vermicomposting!